
This is the legacy 4D documentation web site. Documentations are progressively being moved to developer.4d.com
- 4D Design Reference
-
- Lists
-
-
 Overview
-
Designing lists for data entry
-
Creating and modifying lists
-
Setting list properties
-
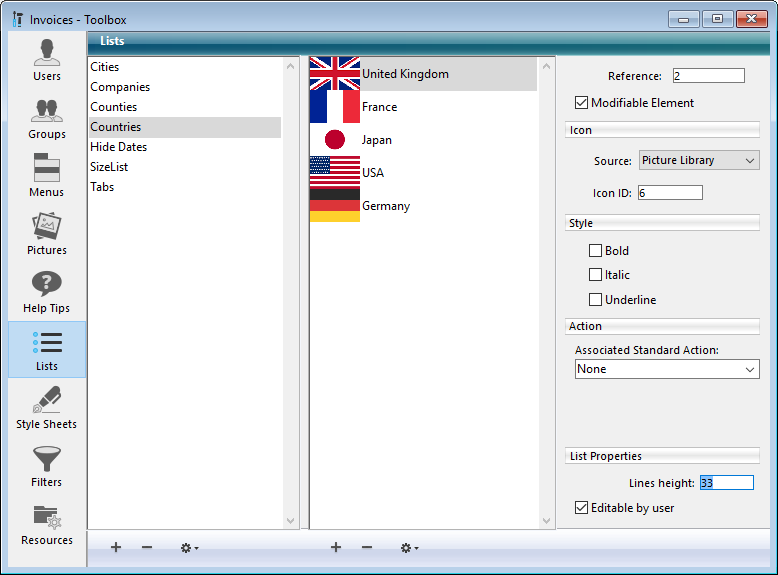
Setting list properties
The current item properties area contains an entry area for the item’s Reference. The Reference is designed as a unique ID for the item. It is of use only when you manage lists using methods or when you have enabled the Save as Reference option for a list field or variable (see Save as Value or Reference).

When you need to use the language to determine which item in a list a user selects (e.g., which item in a hierarchical menu is selected), you can identify the user’s choice using the Reference of the item. For more information, see the Hierarchical Lists chapter in the 4D Language Reference manual.
The Lists editor offers the Modifiable Element option for each element of a list. It is checked by default.
This option is only used with lists displayed in the form of hierarchical lists or tab controls. Its action is different in both cases.
Note: When a list is associated with a combo box (see Combo Boxes), the elements are always modifiable.
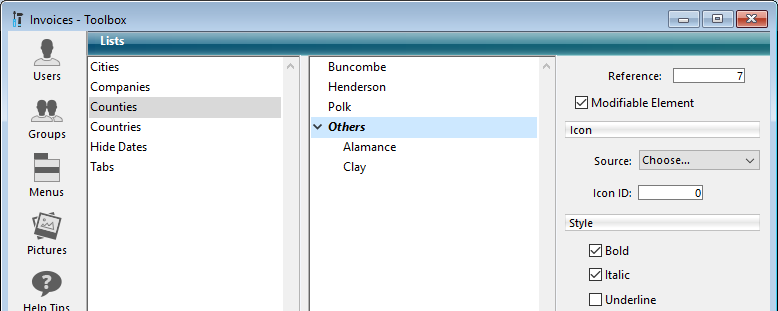
A list can also be used to specify the items in a “hierarchical list” object. When the list is used in this manner, you can control whether each item in the list can be edited by the user. If a list item is modifiable, the user can hold down the Alt key under Windows or Option key under Mac OS and click on the item (or simply click twice) to get an insertion point. An editable item in a hierarchical list is shown below:
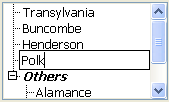
In this case, the Modifiable Element option lets you allow the user to modify the element of the hierarchical list.
When a list is associated with tab controls, you can enable or disable each tab control that corresponds to an item of the list. A disabled tab control will be displayed in gray in the form. In the following example, the tab control “Henderson” is disabled:
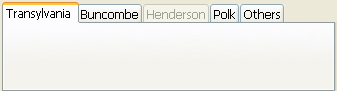
In this case, the Modifiable Element option lets you enable the tab control corresponding to the element.
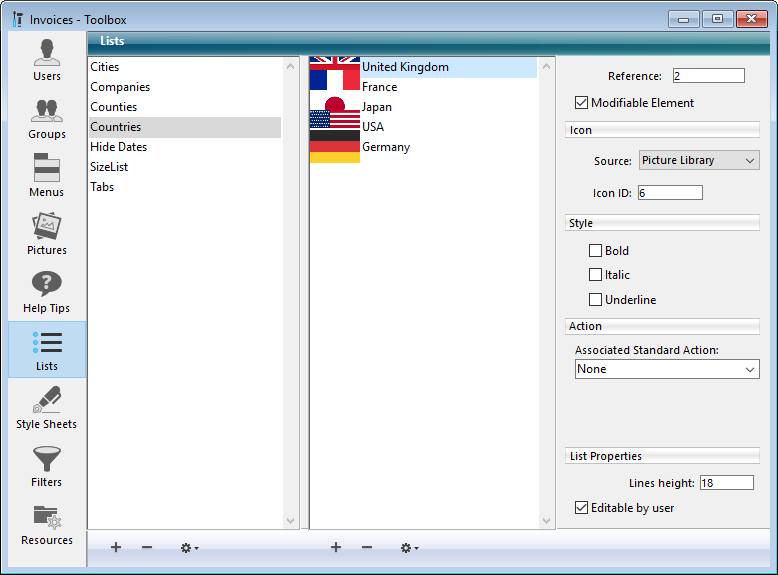
You can associate a small icon with an item in a list. When the list is displayed in a scrolling area or on a tab, this icon appears to the left of the value.
To define the small icon, you can use a picture file or a picture stored beforehand in the 4D Picture Library.
Compatibility Note: The Picture library is deprecated and is not supported in 4D database projects. It is recommended to use picture files on disk.
To associate a small icon with a list value:
- Select the list then the value with which you want to associate the icon.
- Click in the Item icon area.
A hierarchical pop-up menu appears so that you can select a picture from the disk (Open) or from the Picture Library: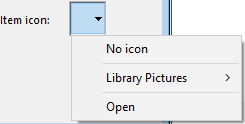
Note: The Library Pictures item is not displayed:
- if the picture library is empty,
- or if you work in a database project.
When you choose Open and select a picture file that is not stored in the database resources folder; it is automatically copied in that folder.
Once set, the item icon appears in the preview area and is added to the left of the label in the list of items:
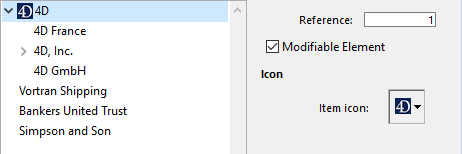
Note: Depending on the size of the icons you use, you may need to modify the list’s height. For more information, refer to “Setting the minimum height of a list” section below.
To remove an icon, select No icon from the Item icon menu.
When a list is used as a choice list, you can display list items in bold, italic, and/or underline.
To apply styles, select the value in the list and check the Bold, Italic and/or Underline options as desired. You can choose several options if you want to combine the styles. The following illustration shows the bold and italic attributes applied to a list item.
When the list is used as a choice list, the selected style attributes will be used, as shown in the following illustration:
You can associate a standard action to a list item (first level only), so that the selection of the item by the user executes the standard action at runtime. For more information on standard actions, please refer to the Standard actions section.
Standard actions associated with list items are taken into account in the following conditions only:
- The list is assigned to a Pop up menu/Drop down list or to a Hierarchical pop up menu form object as standard Choice list.
- Each standard action is defined through a parameter string including a value, e.g. "color?value=#FF0000".
- The whole set of items must call the same main standard action and provides a custom list of values that overrides the automatic list for the parent action (assigned at the form object level).
For example, if you want to use a custom "SizeList" list to provide a pop up menu of font size list to handle font sizes of a multistyle text area or a 4D Write Pro area :
- Create the "SizeList" list and assign a standard action to each item, for example "fontSize?value=8pt", "fontSize?value=14pt"..., in the Associated Standard Action area:

- Assign the "fontSize" standard action to the Pop up menu/Drop down list object at the form level:

Note: If you do not assign the generic standard action to the form object, you will not benefit from automatic item enabling/disabling according to the context. - Assign "SizeList" as Choice List for the Pop up menu/Drop down list object:

At runtime, the pop up menu will work automatically with custom sizes:
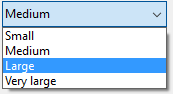
When 4D displays a list as a choice list, it uses the font size of the hierarchical list object to determine the vertical spacing between adjacent list items. If you use a list to specify the values of a hierarchical list, you can specify a larger vertical spacing.
The main reason you would want to do this is to provide additional space for icons that are attached to list items. Or, you can use this feature simply to spread out the list items.
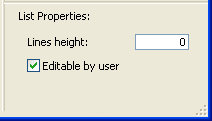
To specify a minimum height, enter a value in points in the “Lines height” entry area.
The effects of this value are displayed immediately in the list of items area. The following illustrations show the effect of increasing the minimum height:
Compatibility Note: This feature is deprecated as of 4D v18 and is available in binary databases only (not available in projects).
4D allows you to specify whether a list of items can be changed by the user when it is displayed as a choice list. By default, a list is not modifiable.
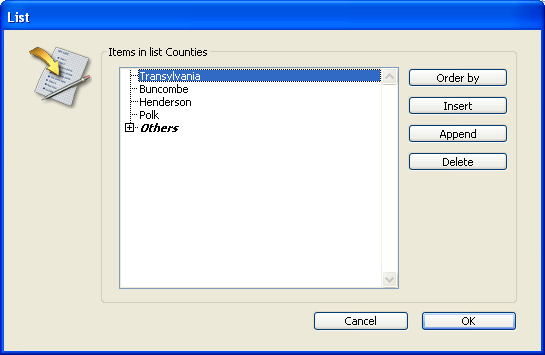
If you allow a list to be user modifiable, the user has access to a special List editor when using the database. The special List editor is for the assigned list only. The user cannot add lists, delete lists, or change any other list. If a list is modifiable, the user can make any necessary changes to that list’s items.
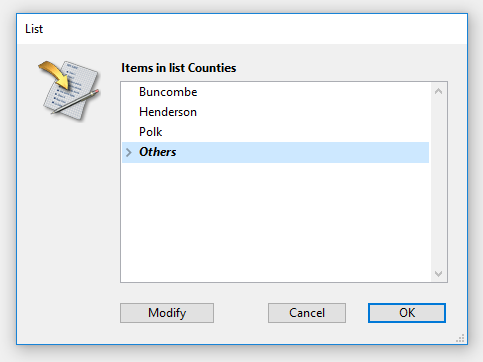
If a list is modifiable, the Modify button is enabled in the List dialog box when using the database.
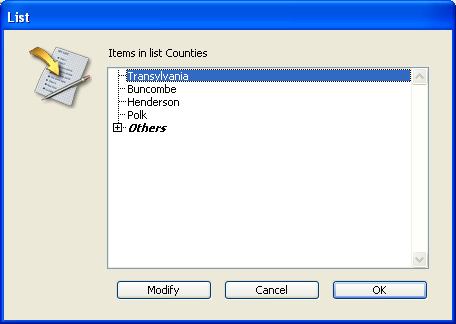
When the user clicks this button, the “user” List editor is displayed. The following shows this List editor:
To make the list user-modifiable:
- Select the list that you want to make modifiable.
- Check the Editable by user option in the “List Properties” area:
The list can then be modified by the users of the database.
To prevent the user from modifying a list, select the list and deselect the Editable by user option.

Product: 4D
Theme: Lists
Modified: 4D v16 R4
4D Design Reference ( 4D v20 R7)


